
No this isn’t going to be some YouTube video about an impossible matchup of two aircraft that never met in actual battle.
This is the story of two model aircraft, from two different model makers. One is a model maker of great notoriety said to be one of the best model kit makers around, the other is less well known and although they have a lot of nostalgia, aren’t exactly known for detailed kits. These model makers being Tamiya (the former) and Lindberg (the latter).
Lindberg ceased to be in about 2013, with a lot of their IP, and molds eventually being taken on by Round 2 Models as they would gobble up the properties of old model makers. Tamiya on the other hand is a powerhouse in the world of scale plastic models, and hobbies in general. Tamiya, like Testors of old, makes model kits, paints, glues, masking tapes, and other accessories so everything is under one brand roof when you go to build a model. Both their accessories and kits are equally known for their fine quality.

The Matchup on My Table
The matchup took place under rather impromptu circumstances. The F-80 was started in early September, and abandoned quickly when a key part was missing, and had to be ordered from Round 2. Hearing silence from Round 2 I proceeded on to two other models, an F-94 Starfire and an A-4 Skyhawk, then on to the F2A2 Buffalo. The Buffalo was under construction (mostly painting) for about a week when the missing F-80 piece just showed up in my mailbox from Round 2. I suddenly found myself wanting to finish the F2A2 and F-80 simultaneously, and took this as a challenge to see if my building space and personal capacity would allow me to build two kits at once. So it all started with a lot of work behind the paint brush and spray can, on the evening of Friday, October 22nd.
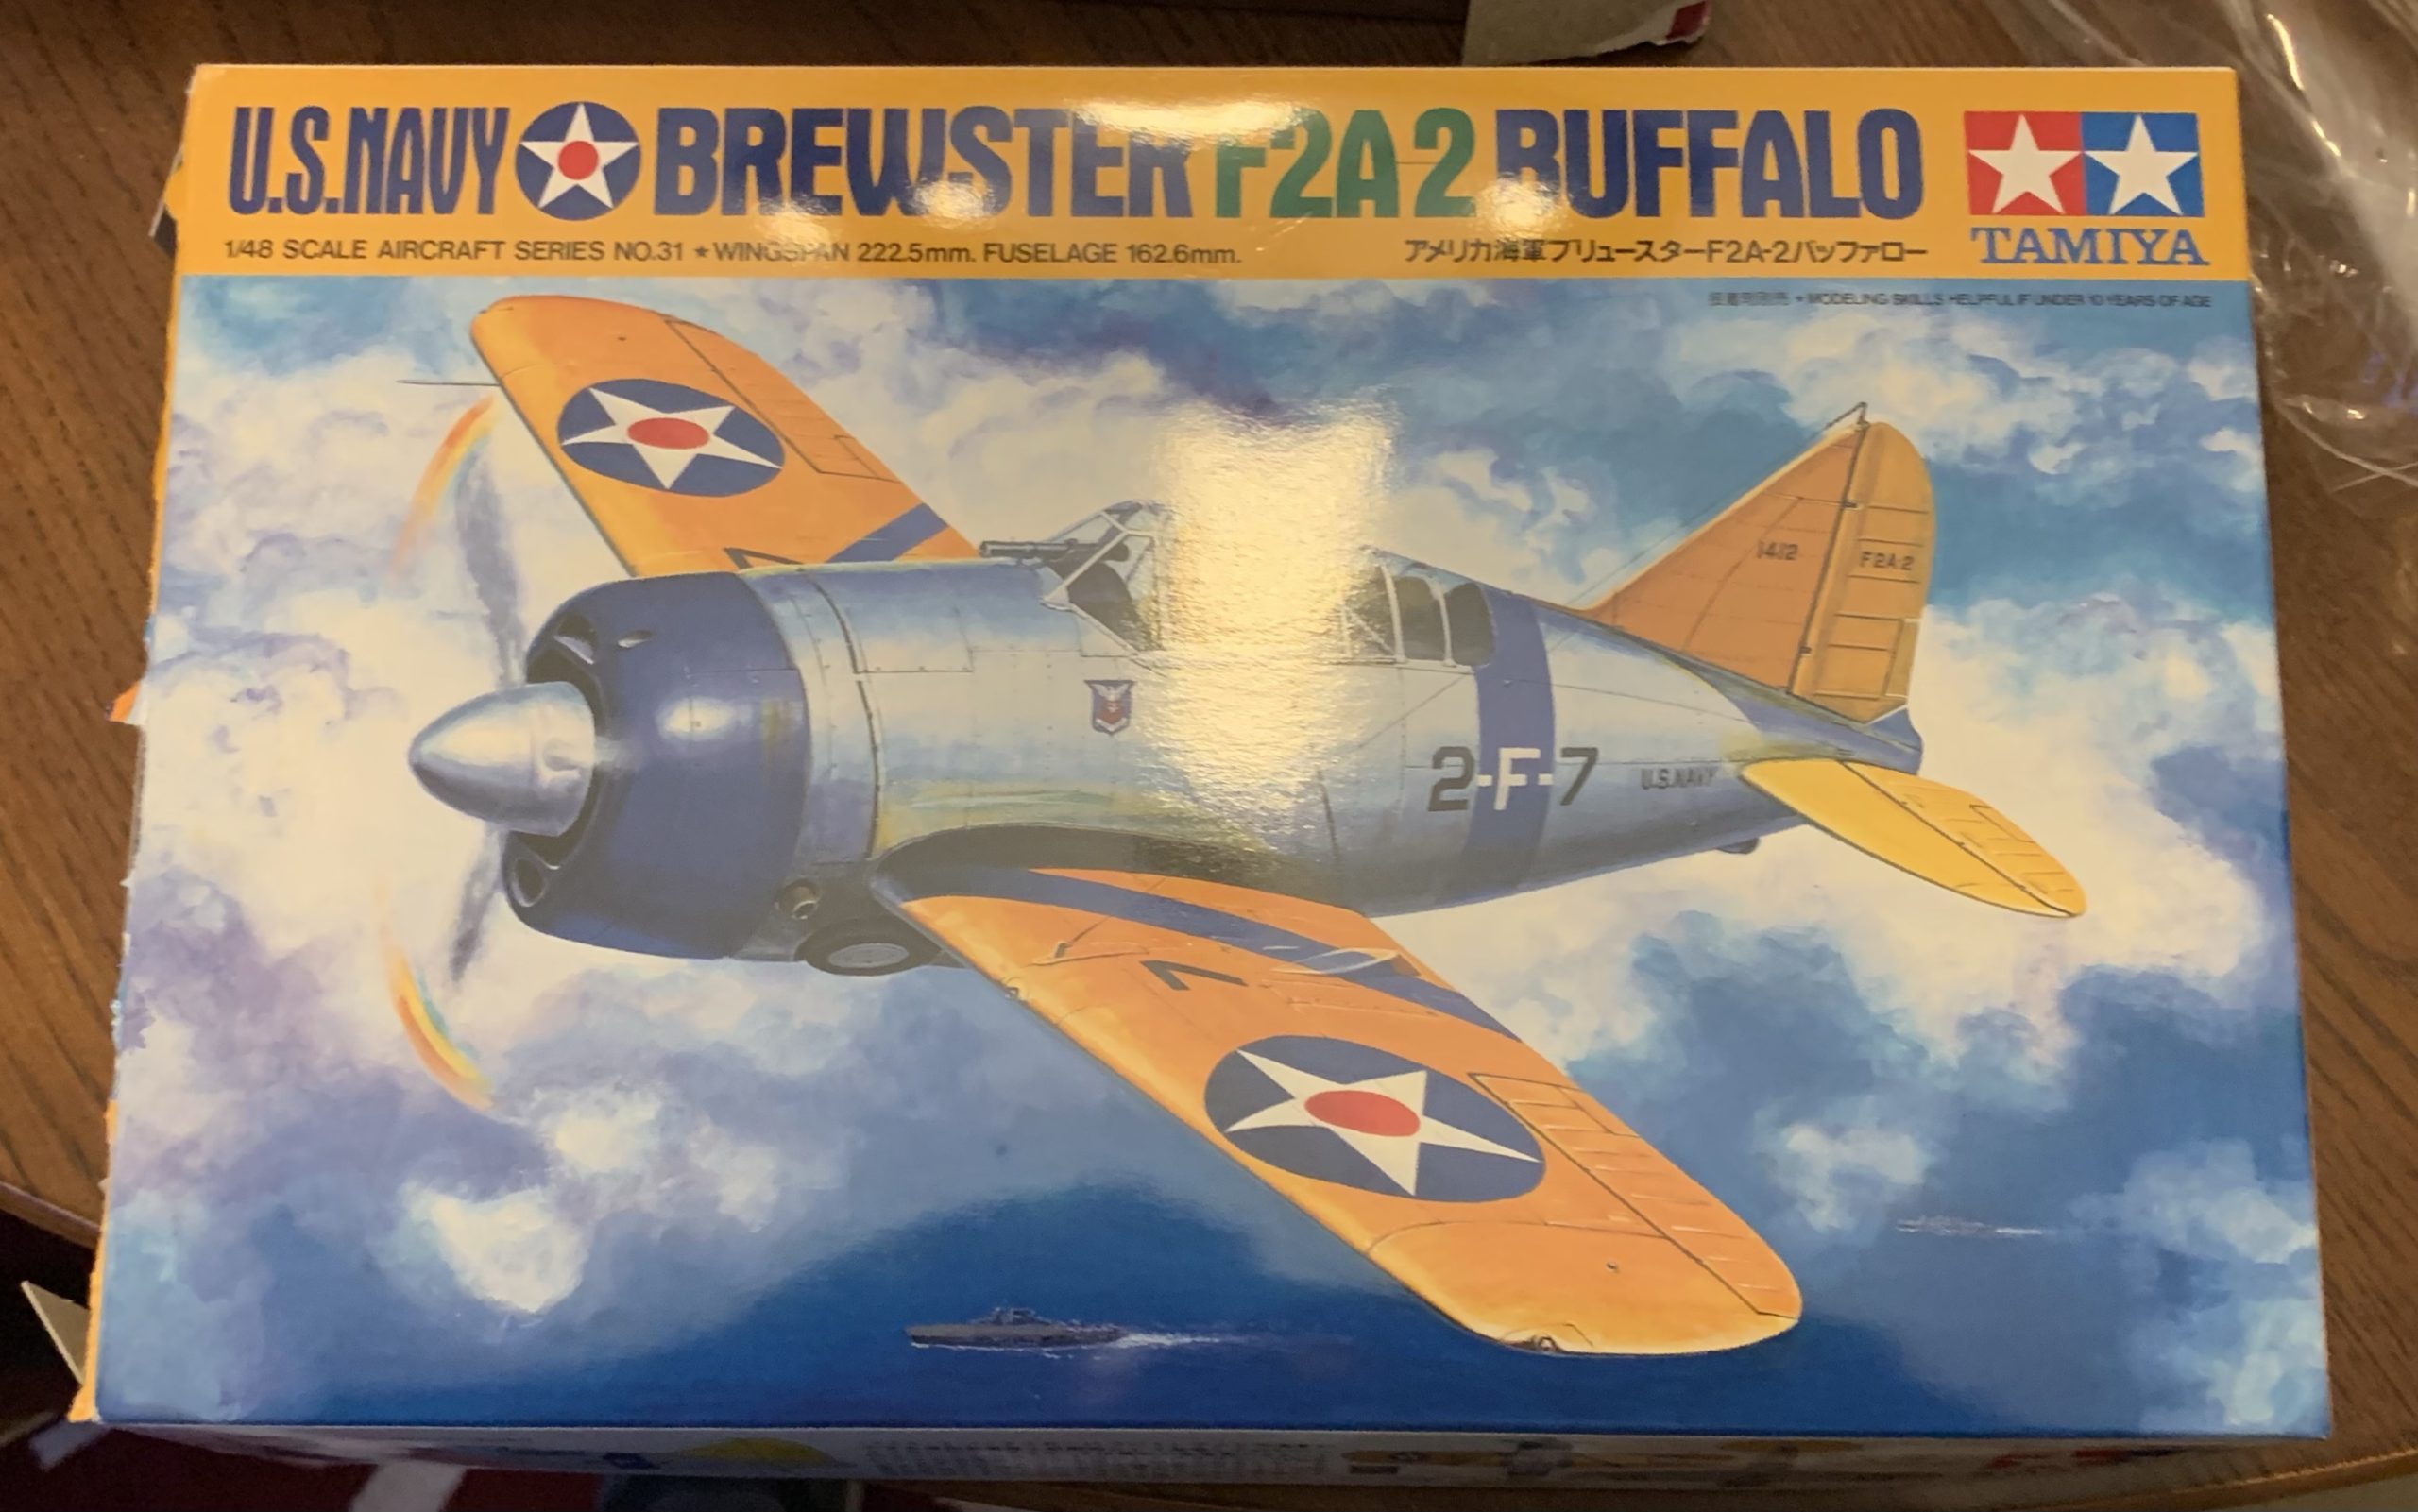
Both aircraft are actually milestones for me in a number of ways. First they’re the first two dedicated fighters, jet and prop, Air Force and Navy, that I’ve built since returning to plastic model building in the past year. My Navy entries have all been bombers and attackers (similar mission types), while my Air Force have been interceptors (fighters of a sort I guess, but specialized). The F2A2 also is also my first Tamiya kit, ever, while the F-80 is the second kit in a two kit box, meaning it’s the first multiset I’ve ever completed (for aircraft at least).
Two Planes Similar Histories
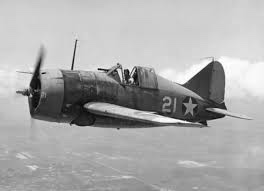
In real life the Buffalo and Shooting Star share a lot in common. First both participated in World War II for the United States, but in a limited capacity. By December 7th, 1941 the F2A2 was already a relic and used as reserve aircraft and banished to far flung air bases around the world. Many F2A2’s, already replaced by the F4F Wildcat on carriers, would fall victim to Japanese aircraft while on the ground at Pearl Harbor. Many others would see a similar fate in the Philippines, with others falling in air combat. Strangely the Buffalo, despite performing dismally in the hands of the US Navy, would go on to achieve success in the skies of Finland and Russia, during the Winter War, and for the Finnish Air Force becoming the aircraft of aces.
The P/F-80 Shooting Star in World War II was sent to air bases Italy in 1945, but in very limited capacity. The goal was to make it clear to the Germans that the U.S. now had jet fighters too, and to hopefully see how the P-80 would perform against the dreaded Me-262, or other German jet aircraft. Opportunities occurred when the P-80 nearly intercepted German reconnaissance jets, but the first jet on jet air combat for the U.S. would ultimately never occur during World War II. This was especially transparent since by the time the P-80s arrived in Italy, the Luftwaffe was placing most of its aircraft back in Germany for a last ditch defense. By Korea the P-80 or now F-80 had a similar fate as the Buffalo, being already outdated, it was placed into smaller roles, where it only achieved modicum success.
Both aircraft also shared the fate of being advanced aircraft for their time on the drawing board, but nearly obsolete when they finally entered service a few years later. For both their eras this was common. Prewar military aviation moved extremely quickly, and many aircraft went from top on the line to obsolescence, in only a few short years. The TBD Devastator for instance is an example of this a lot of aviation historians choose to use. Going from the worlds most advanced carrier bomber on paper, to a 100% loss rate at the Battle of Midway in only 7 years. The Buffalo isn’t as dramatic of an example, but the prewar comparison is easy to make.
For the P/F-80, it came into full service in mid-1945 with the USAAF fully aware new aircraft designs were coming. The war had produced a glut of jet engine and aircraft research, by both the Americans and British, and this was only furthered by recently captured German research and the aeronautical engineers to go with it. Only two years later the F-86, the USAF’s first jet powered air superiority fighter, would make its first flight. This would take the jet fighter from a stop gap Me-262 killer of World War II, to a modern instrument of war.

Unlike the Buffalo the P/F-80s slide into obsolescence wasn’t as absolute. The P-80 would live on in two variants, the F-94 Starfire a short lived bomber interceptor, and the T-33 Shooting Star a highly popular trainer that would stay in service till 1997, and is still active in private industry, and in the hands of private owners..
Model v. Model
Technically speaking or at least in the case detail the Tamiya kit would win. I will say this for Lindberg though, and that as for all the simplicity of the F-80 kit, Lindberg does have some pretty detailed kits. The TBM Avenger from their Firepower series, and the Kiev were both very detailed kits on par with the Tamiya kit. Although the Tamiya kit is aces in detail, there is something simple and simultaneously elegant about F-80 kit. It was easy to put together, open to as much or as little detailing as the builder wants, and ultimately a simple pleasure to put together. To be honest I enjoyed building both almost equally, which on an overall level to me doesn’t draw out a winner. No doubt hard core modelers will say the Tamiya kit would always win hands down, but when building for pleasure and relaxation its a hard call.
Pilot vs Pilot
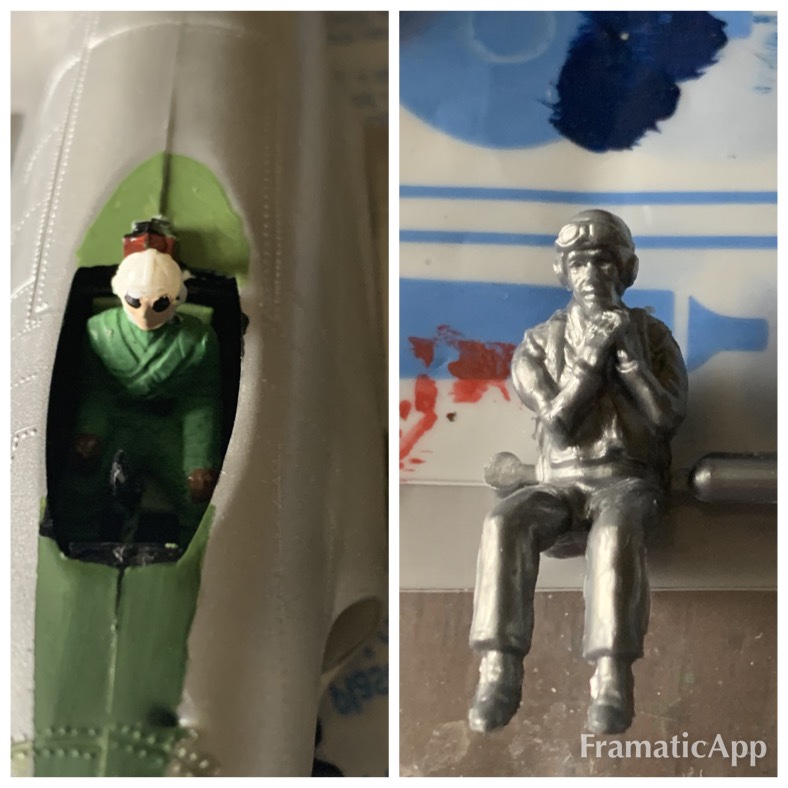
For these particular Lindberg kits the pilot figures are almost as basic as they come, with only a few easily identifiable features. The figures do require some paints not used on the rest of the kit, which on its own adds a minor amount of detail. However, I did add my own details to the pilot, even painting in the goggles over his eyes which are visible under a modeler’s magnifying glass, but not recognized in the instructions. The Tamiya kits pilot on the other hand wins hands down, not only in features, but in how much the figure is open to additional detail. Though the instructions on the figure identify the paint schemes of the uniform, boots, Mae West, parachute, flight helmet, goggles, and face, other details such as buckles, straps, and smaller items are easily seen and open to additional detail.
Cockpit vs Cockpit
Admittedly, Tamiya wins here as well but Lindberg does make a valiant effort. Unlike the F-80’s sister kit the F-94, which only had the pilots and seats, the F-80 does feature an actual cockpit, instrument panel, control stick, and ejection seat. Of course the instructions keep to a simple color scheme of mostly black, but I added details based on the actual F-80 cockpit. The F-80 kit here, like the pilot, is a victim of the instructions’ own simplicity. On the Buffalo the cockpit featured the instrument panel, side panels, a throttle and carb choke control panel, a landing gear crank, pilot seat, pilot headrest, canopy support, stick, and multipart cockpit floor. It features a number of colors, and the instructions went into detail, although I’ve seen modeler’s online add-in even more detail.
Fuselage vs Fuselage
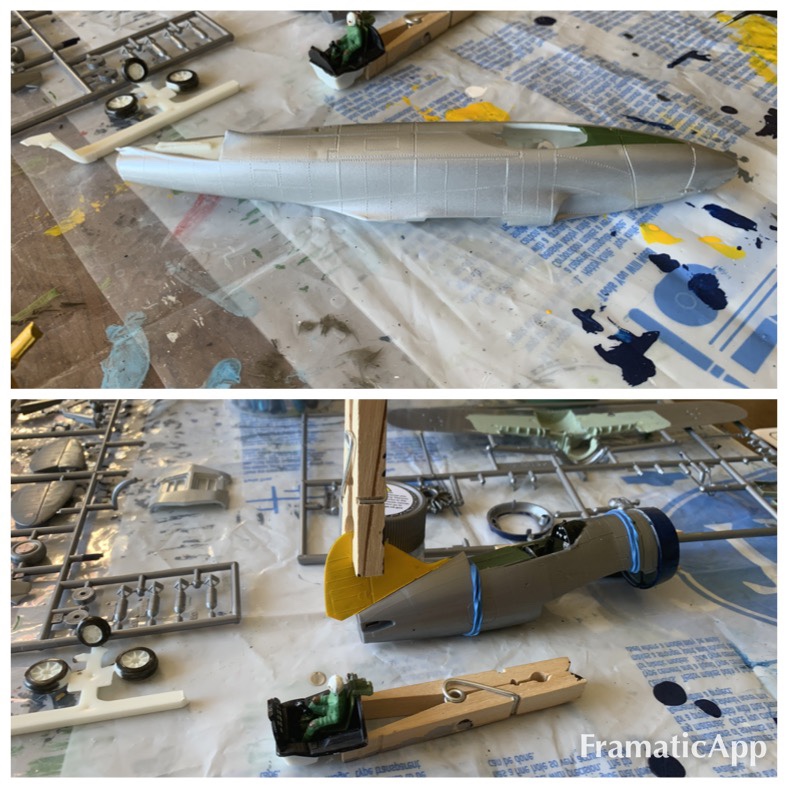
So I wanted to give this one to Lindberg, based on the large studs and holes, and how well the fuselage goes together and stays together. Once, I got it together though a few issues popped up. First one fuselage half is a little shorter than the other, which became apparent in the nose. Second there is molding issue where the plastic near the studs and holes is sunken in near the top of the aircraft. Its still a beautiful model, but there are obvious detractors in the molding, and quality. With that said it did go together better than the fuselage the Tamiya kit. With the more detailed cockpit the Tamiya fuselage was a lot harder to put together, and ultimately once the fuselage halves were together the pilot’s seat was off center, although not badly. With glue it did hold together pretty well with pressure in some points, and I can’t complain about any major fuselage separation, like I’ve had on other kits. It also fit together well, with no molding holes, and equally fit. Overall, I’d say Lindberg took this one on fuselage fit and hold, but Tamiya took it on quality.
Wing vs Wing
The Tamiya kit was standard model fare, lower complete wing half, with right and left side upper wing halves, as well as including the landing gear, landing gear doors, lover cockpit pieces, and an interesting detail of the Buffalo a ventral cockpit window. It was nicely detailed and went together really well, and was independent of the fuselage. For the Lindberg kit the left and right wings were both one piece each, and are connected to the fuselage with a center piece (the one that was missing from the kit). The wings also take on the landing gear, while the center piece takes on some of the landing gear doors. Remarkably the wings and center piece do look good, despite the simplicity. Again its a split win, Tamiya in detail, and Lindberg in ease of assembly.
Decals vs Decals
Lindberg, so far, has impressed me on their decals. Their decals are thick, and tough, go on easy, and look great when they dry. I did find, however, that some of the decals meant to fit on curved surfaces, didn’t stick as well as they should though. I found the Tamiya decals to be inconsistent in how long they take to soak, and that they tore very easily. Luckily, thanks to experience I was able to salvage every decal and make it look good, but it was still a lot of work.
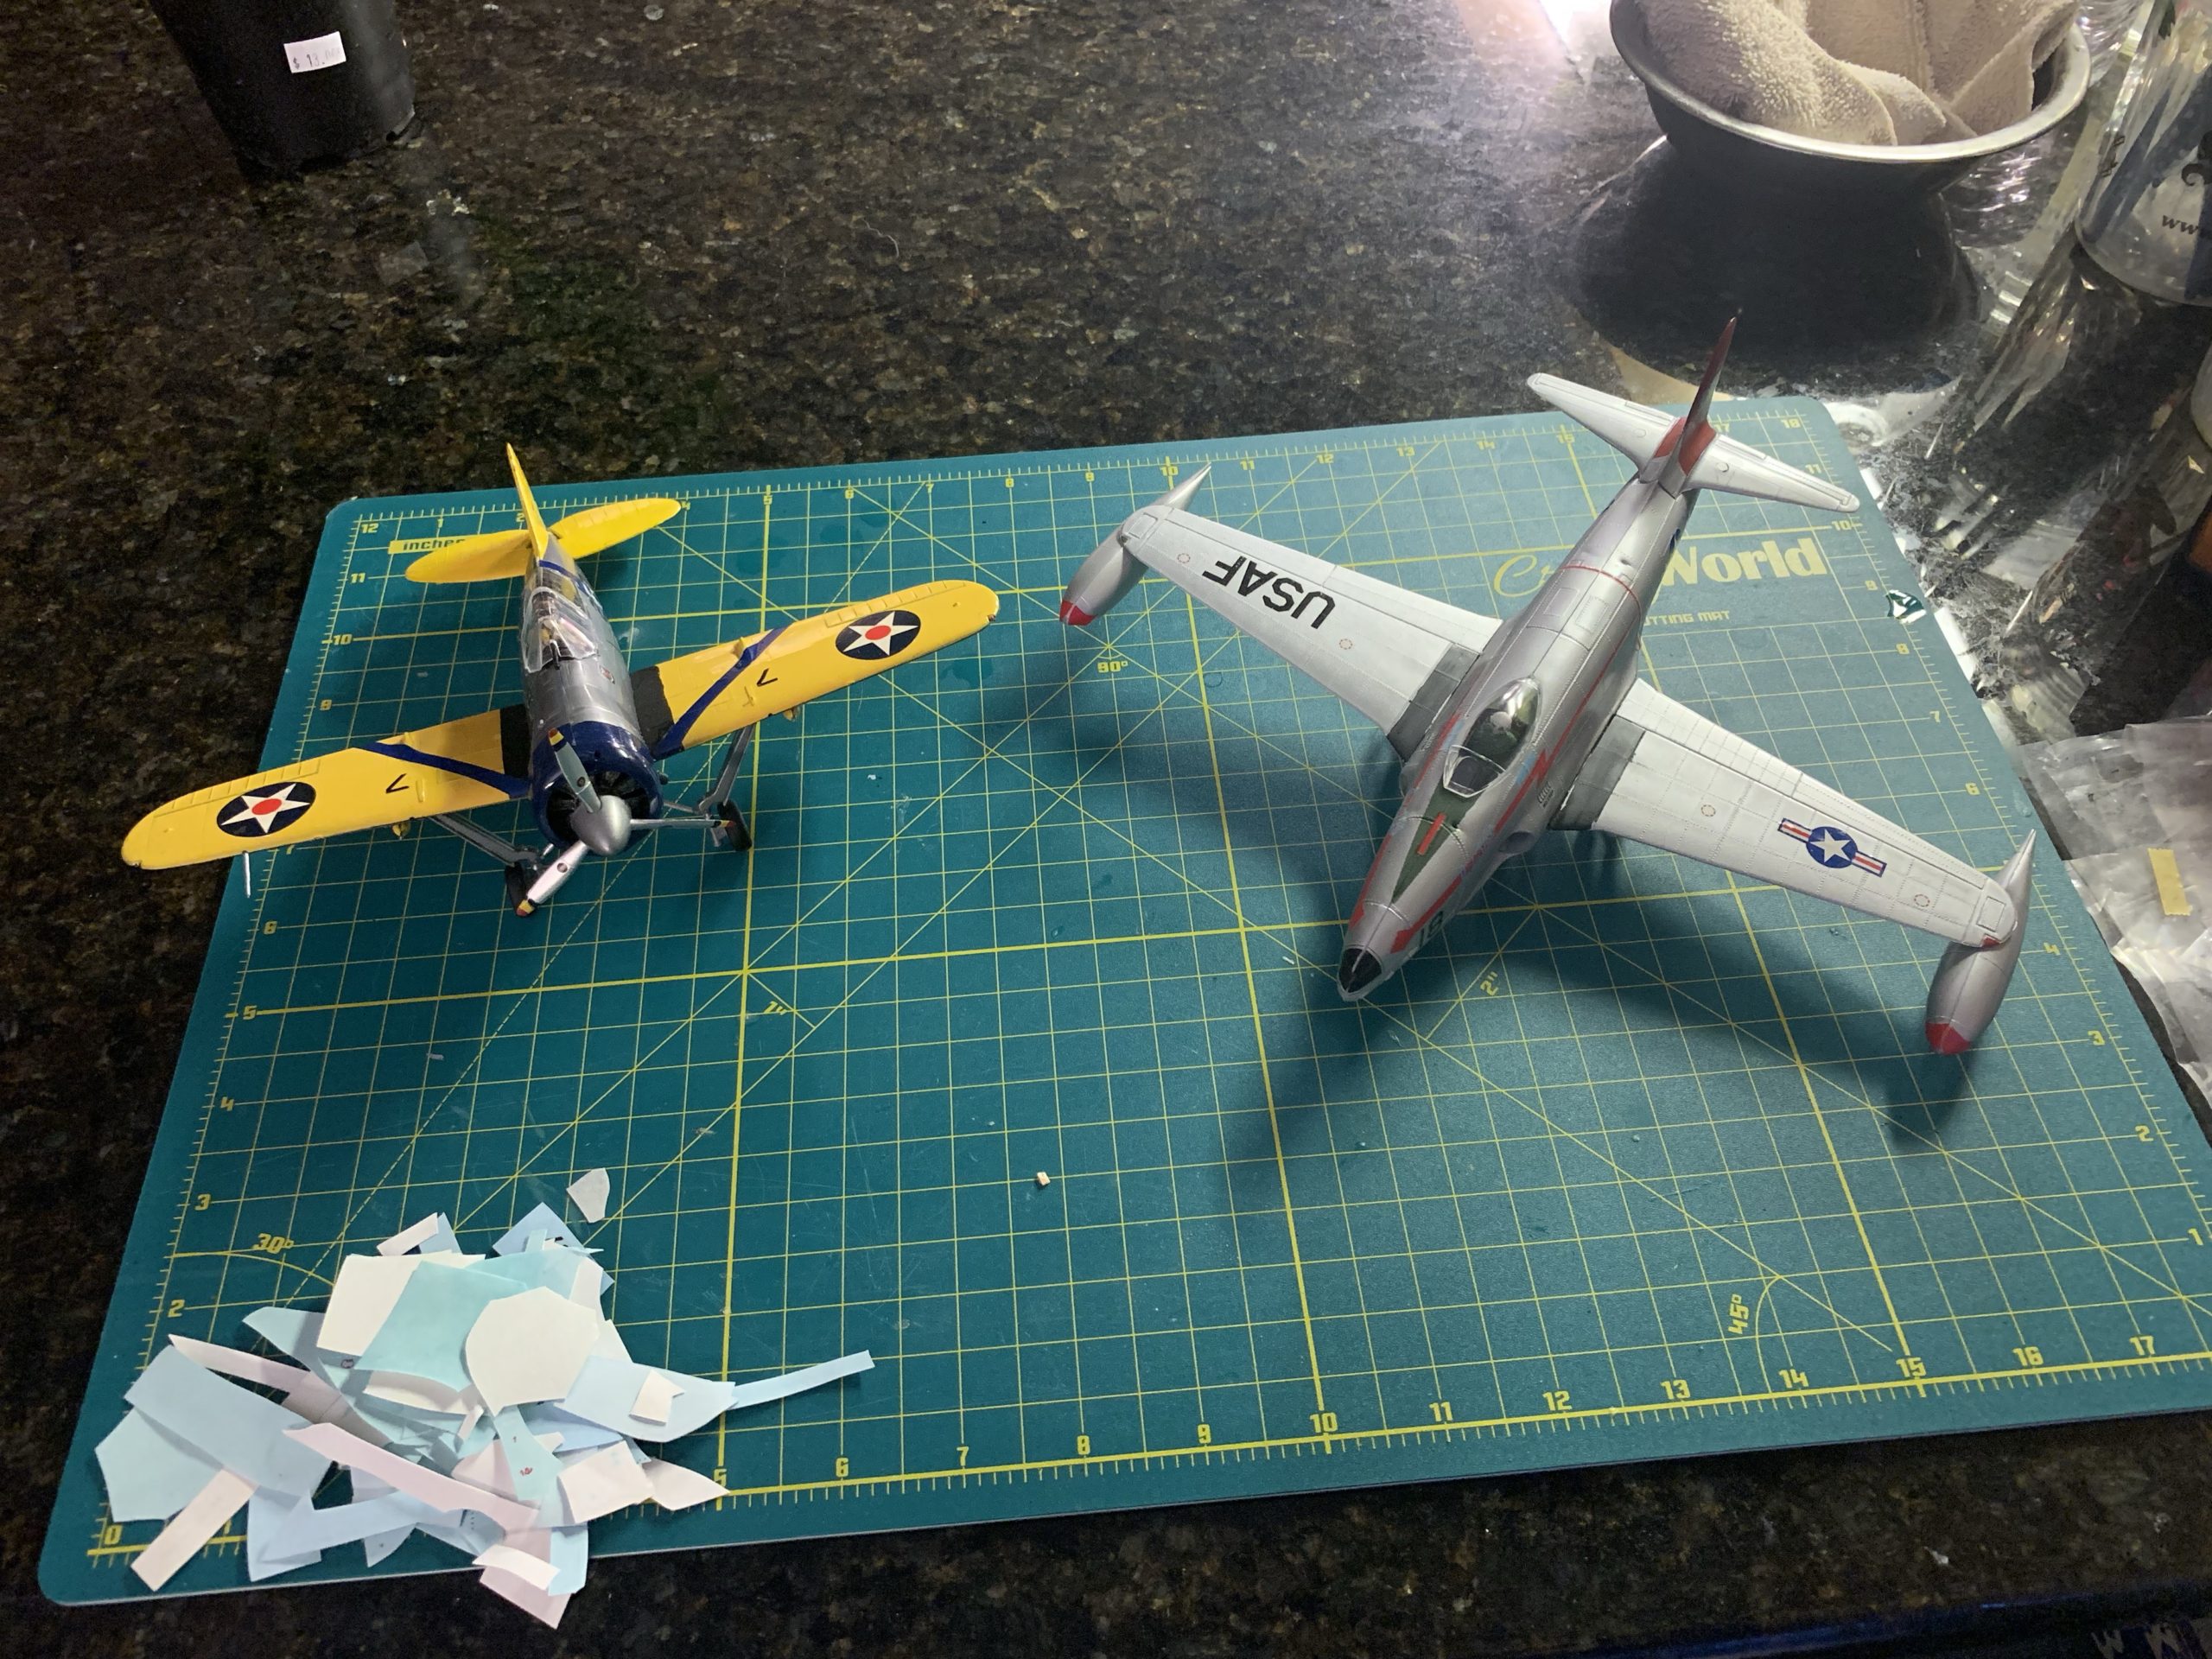
Aircraft vs Aircraft (finished)
I finished both kits decals and all the weekend of November 13th, and 14th. Both kits are now sitting on a construction matt on my kitchen counter waiting for a place to live in my office. Overall both kits look good, however the Tamiya kit does look better. This isn’t only due to the level of detail, but to how some parts fit, and by this I mainly mean the landing gear. On the F-80 the nose gear hole was a bit larger than it should’ve been and the nose gear is a bit deeper into the kit than it should be. It gives the look of the aircraft throttling up before takeoff with the nose gear depressed, but that’s not really the look the kit was supposed to have or I wanted. Also, despite the wing pieces having gone in evenly and the landing gear gone in correctly as well, the aircraft is also slightly crooked to the left side. On the Tamiya kit there was an issue with the canopy support strut behind the pilot being ill fitting as well, and despite sitting correctly in the fuselage, still sat too high to allow the canopy to fit properly on the aircraft, and sadly after many tries I had to remove the piece. I will say I’m happy with both kits, despite my builder’s remorse and criticality on my own work.
What Should You Build?
Choice of kit depends on you and how much or how little time you want to invest in the kit. This particular Lindberg kit is a nice short term build, taking about four days to construct allowing time for spray painting and drying. The end result being a nice kit, albeit not super detailed. The Tamiya kit is a slightly longer build, with more detailed painting work to be done on smaller pieces, and some spray painting. I’d suggest a minimum of two weeks to build, if you have real life obligations like work and kids. The end result being a detailed kit, of unique a subject matter the mostly forgotten F2A2.
Leave a Reply